MonkerSolver is the industry-standard solver for Pot Limit Omaha. Unlike simpler tools, it is capable of solving full preflop ranges across all streets — giving you a genuine GTO baseline to study from. This guide walks you through setting up and running your first heads-up PLO preflop simulation from scratch.
If you are completely new to solvers, think of MonkerSolver as a tool that works out the mathematically optimal way to play every hand in every situation. The output is not a rigid script to follow, but a reference point that tells you where your own game may have leaks.
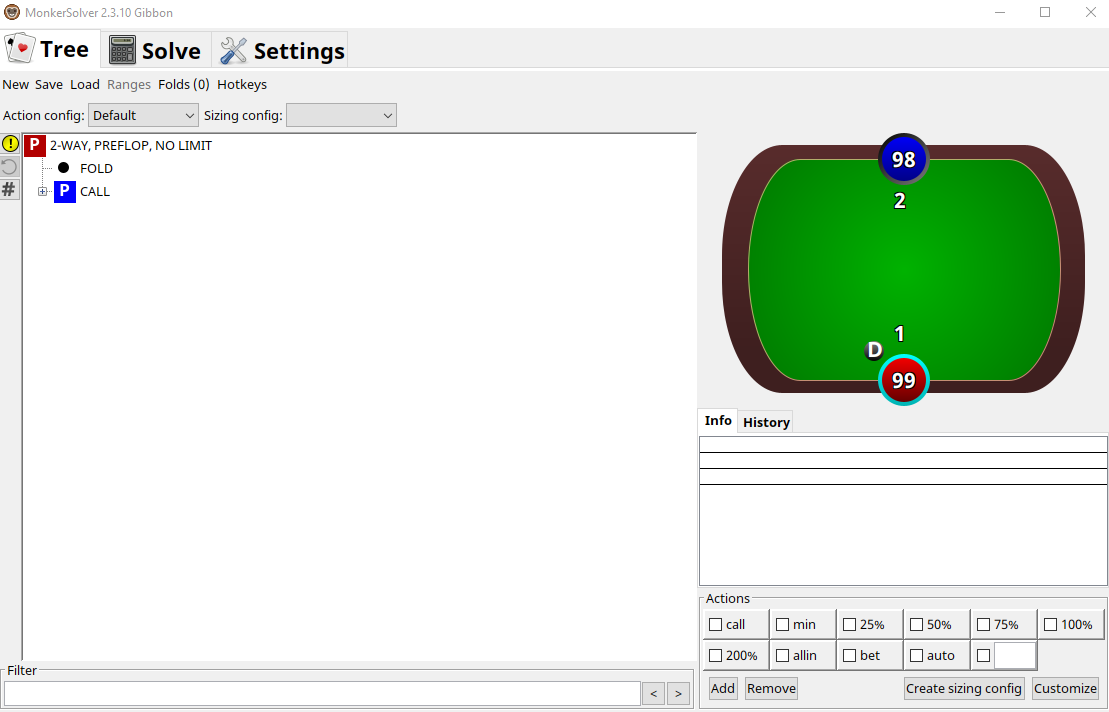
Figure 1: The MonkerSolver interface
From the main interface, click New to open the tree configuration dialog. This is where you set the game type, street, and number of players.
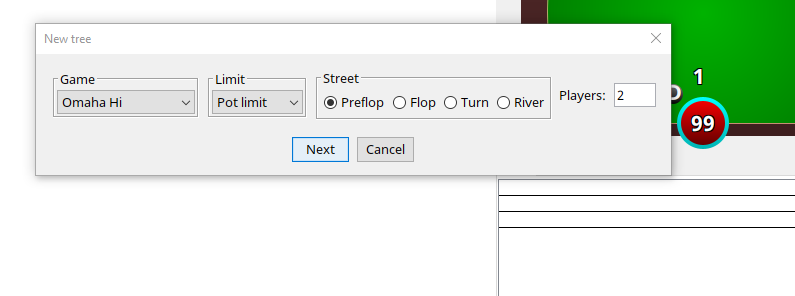
Figure 2: New tree settings — select Omaha Hi, Pot Limit, Preflop, 2 Players
Set the following options:
- Game: Omaha Hi
- Limit: Pot Limit
- Street: Preflop
- Players: 2
Click Next to proceed to the stack and blind configuration.
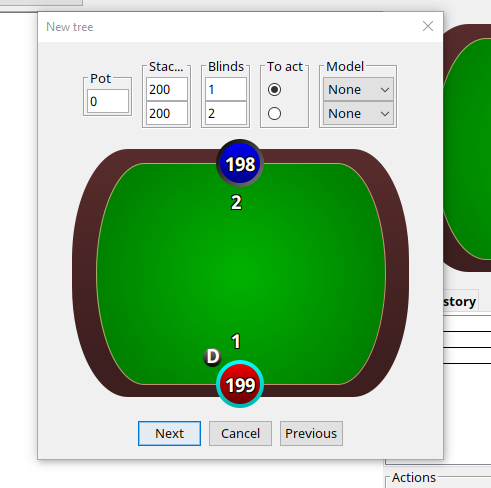
Figure 3: Stack and blind configuration
Set your stack sizes and blinds to match the stakes you play. For a 200 PLO simulation, set both stacks to 200 and the blinds to 1 and 2. This is the default settings which I always use to make the sims. MonkerSolver uses its own internal chip unit — mchip — where 2000 mchip equals 1 big blind. Keep this in mind when configuring rake later.
Tip: For a 200NL sim: stacks = 200, blinds = 1/2. Remember that 2000 mchip = 1bb when setting the rake cap.
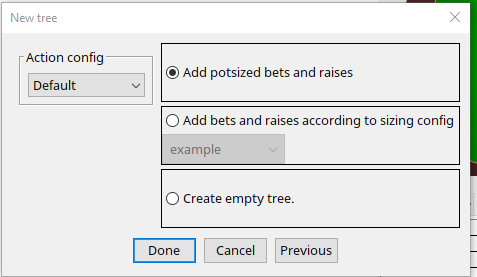
Figure 4: Action configuration — keep it simple for your first sim
MonkerSolver allows you to add multiple postflop bet sizes, but for your first simulation it is strongly recommended to keep things simple. Adding too many sizings increases memory usage and solve time dramatically without a proportional improvement in accuracy for a preflop sim.
Select 'Add potsized bets and raises' for a clean, manageable tree. You can always build more complex postflop trees later once you are comfortable with the workflow.

Figure 5: The sizing filter view — only needed when adding custom postflop sizings
Tip: For preflop sims, a single postflop sizing is fine. More sizes = more memory + longer solve times, with diminishing returns on preflop accuracy.
Once the tree is created, you need to configure the rake to match the site you play on. Navigate to the rake settings area and enter the rake percentage and cap.
For a 200 PLO simulation the rake cap is typically $1.50, which equals 0.75bb. Since MonkerSolver uses mchip units where 2000 mchip = 1bb, a cap of 0.75bb translates to 1500 mchip. Enter this value in the rake cap field alongside your rake percentage (typically 5%). If you are playing 5/10 (1k PLO) and the rake cap is $3, which is 0.3bb, you would enter 600 mchips.
Tip: 2000 mchip = 1bb. So a $1.50 rake cap at 200PLO (0.75bb) = 1500 mchip. A $3 cap at 500PLO (0.60bb) = 1200 mchip.
With the tree configured, you are ready to solve. Before starting, check the abstraction panel which shows the estimated memory required — make sure your machine has enough RAM available. I find this is sometimes quite inaccurate but it does give an idea. Sometimes a sim will crash and disappear because it ran out of memory. This happens a few minutes into running so keep an eye on it — don't just run it and walk away, as you may come back 5 hours later and it's gone.
Remember to hit the reset button a few times while it's running, usually after a few hours each time, to help the solver clear out the less accurate parts of the sim.
Click Solve to begin. MonkerSolver will display a volatility figure as it runs, which decreases over time as the solution converges. A volatility of around 1.5 to 2 represents a solid level of accuracy for most practical purposes.
Expected solve times:
- Fast machine (high-end desktop or server): ~12–24 hours
- Average machine: 24–36 hours
- Slower machine: 48 hours+ or not at all
Tip: Let the sim run overnight or across two nights. There is no benefit to stopping it early — the longer it runs (up to the ~2 volatility target), the more accurate the output.
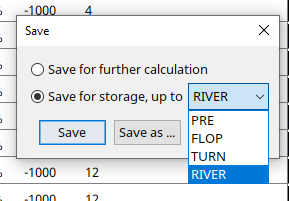
Figure 6: Save options — PRE saves only preflop data (small file, fast to open)
When saving, MonkerSolver gives you a choice of how much data to store: PRE, FLOP, TURN, or RIVER. For a preflop simulation, always save as PRE. This stores only the preflop strategy data, resulting in a very small file that opens almost instantly.
Saving as RIVER stores the full game tree across all streets — the file will be enormous and slow to open, and for a preflop sim the postflop data will not be accurate enough to be useful anyway.
Tip: Save as PRE. The file will be small and fast to load. Saving as RIVER produces a huge file that is not meaningfully more useful for studying preflop ranges.
What's Next?
With your preflop sim saved, you now have a GTO baseline for HU PLO. You can use it to study opening ranges, 3bet/4bet frequencies, and calling ranges from both positions. In the next article in this series, we will cover how to build dedicated postflop simulations for specific board textures and spots.