Most players run MonkerSolver on Windows, either on their home PC or a dedicated Windows server. But MonkerSolver actually runs on Linux too — and if you are renting a dedicated server, Linux can save you a meaningful amount of money by eliminating the Windows licence fee entirely.
This guide walks you through setting up MonkerSolver on an Ubuntu 22.04 server from scratch. We have actually done this ourselves on a real server so the steps are tested and working — including all the errors we ran into along the way and how to fix them.
Why Run MonkerSolver on Linux?
The main reason is cost. A Windows Server licence roughly adds $15 per month to your server bill. Over a year that is $150+ in licence fees on top of your hardware costs. Linux is free, so the same hardware runs for less.
There is also an argument for stability — Linux servers are known for running for long periods without needing reboots, which matters if you are running MonkerSolver's queue around the clock.
The trade-off is that the setup is more involved than Windows. This guide takes you through it step by step so you know exactly what to do.
💡 What you need before starting: A dedicated server running Ubuntu 22.04, the MonkerSolver zip installer file (you get this after purchasing MonkerSolver), and a Windows PC to connect from.
What You Need
- A dedicated server running Ubuntu 22.04 (most providers offer this as a free OS option)
- SSH access to your server
- The MonkerSolver linux download file
- A VNC viewer on your local PC — we recommend RealVNC Viewer (free)
- CMD (Windows) to connect via SSH
Step by Step Setup
Connect to Your Server via SSH
Once your server is provisioned you will receive an IP address and root password from your provider. Open Command Prompt on your Windows PC and connect using SSH:
ssh root@YOUR.SERVER.IP.ADDRESSEnter your password when prompted. Nothing will appear on screen as you type — that is normal. Press Enter when done. You will now be logged in as root. A tip here is to right click on the cmd after you have copied your password, it will be pasted in but you wont see any chacters or *** but trust me it wil be pasted so press enter and let it log in
Update the System
First thing to do on any fresh server is update the package lists and upgrade installed packages:
apt-get update && apt-get -y upgradeInstall Desktop Environment, VNC Server, Java and Tools
MonkerSolver has no command line interface — it needs a graphical user interface (GUI) to operate. We will install a lightweight desktop environment called XFCE along with a VNC server so you can connect to it remotely. We also install Java (required to run MonkerSolver), 7-zip (for extracting files) and Chromium browser:
apt-get install -y xfce4 xfce4-goodies tightvncserver p7zip-full default-jre
apt-get install -y dbus-x11
apt-get install -y chromium-browser
Note that dbus-x11 is included here deliberately — without it you will get a blank grey screen when you connect with VNC. Install it now to avoid the problem entirely.
Create a Dedicated User
For security it is best practice to run VNC as a separate user rather than root. Create a user called monker:
adduser monker
apt-get install -y sudo
gpasswd -a monker sudo
When running adduser you will be asked to set a password — remember this as you will need it later. Press Enter to skip the other questions.
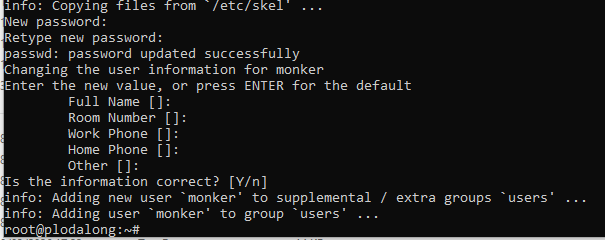
The adduser process completing — user monker created and added to the users group.
Configure the VNC Startup Script
Switch to the monker user and start the VNC server for the first time to generate the config files:
su - monker
vncserver -geometry 1920x1080
You will be asked to set a VNC password — this is what you will use to connect remotely with RealVNC Viewer. When asked about a view-only password type n. After the server starts, stop it again so we can edit the config:
vncserver -kill :1Now edit the startup script:
nano ~/.vnc/xstartupClear the existing contents (press Ctrl+K repeatedly until the file is empty) then paste in the following:
#!/bin/bash
xrdb $HOME/.Xresources
startxfce4 &
Save with Ctrl+X, then Y, then Enter. Now make the file executable:
chmod +x ~/.vnc/xstartupAllow SSH and Enable the Firewall
Before enabling the firewall you must allow SSH — otherwise you will lock yourself out of the server. Run these commands in order:
sudo ufw allow 22
sudo ufw allow from YOUR.HOME.IP to any port 5901
sudo ufw enable
Replace YOUR.HOME.IP with your actual home IP address. You can find this by typing "what is my ip" into Google. When prompted whether to proceed, type y and press Enter — it will not drop your SSH connection.
⚠️ Do not skip the ufw allow 22 step. If you enable the firewall without allowing SSH first you will be locked out of your server and will need to contact your provider to regain access. The server will also ask "Command may disrupt existing ssh connections. Proceed with operation (y|n)?" type y and press enter. It should say "Firewall is active and enabled on system startup"
Start the VNC Server
Start the VNC server:
vncserver -geometry 1920x1080The server is now running on port 5901.
Connect with RealVNC Viewer
Download and install RealVNC Viewer on your Windows PC from realvnc.com. Download the EXE X86/X64 version for Windows.
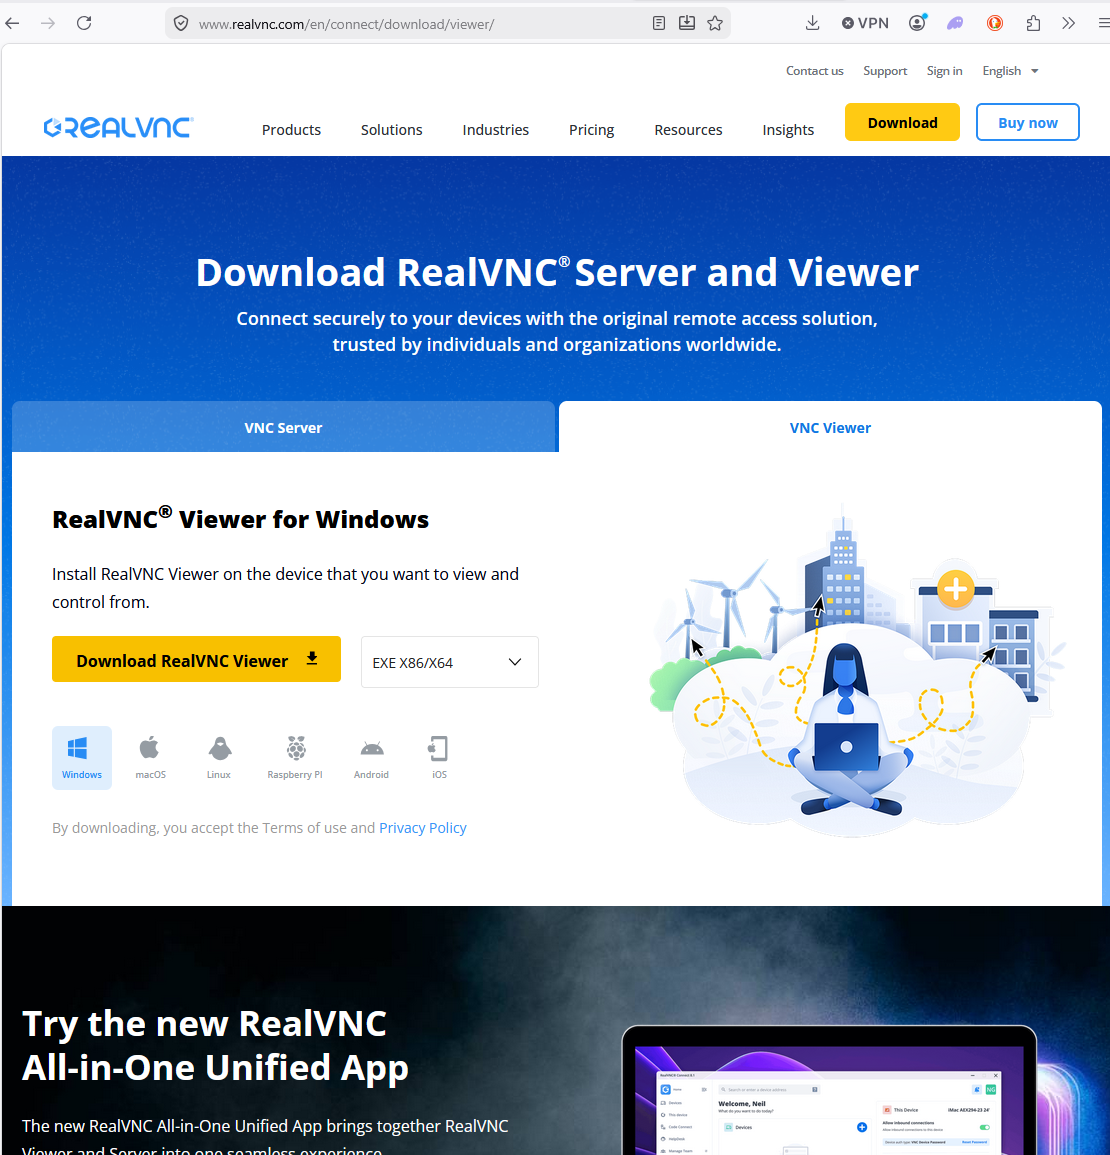
The RealVNC download page — select VNC Viewer and download the Windows EXE.
Once installed, open RealVNC Viewer. You can skip signing in — click "Use RealVNC Viewer without signing in".
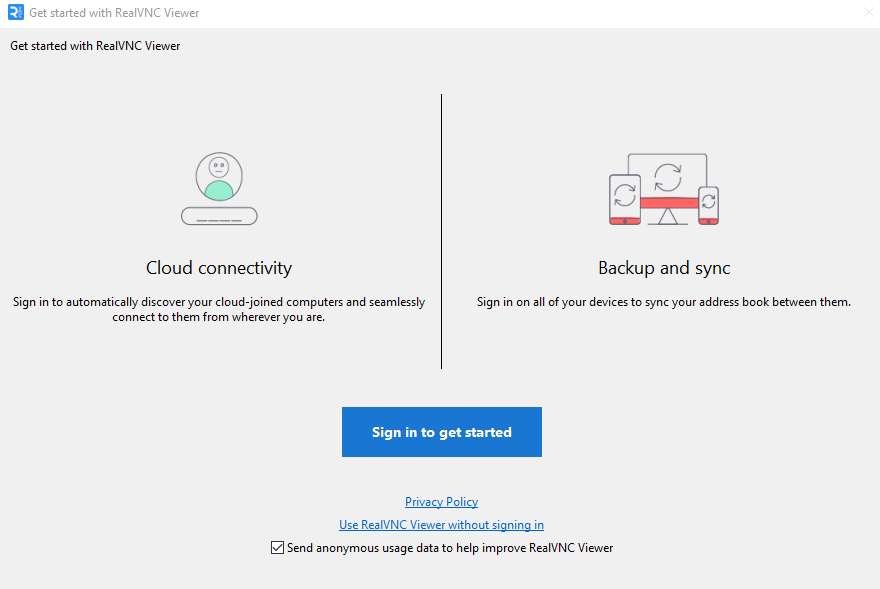
Click "Use RealVNC Viewer without signing in" — you don't need an account.
In the address bar at the top enter your server IP followed by :5901, for example:
44.225.44.88:5901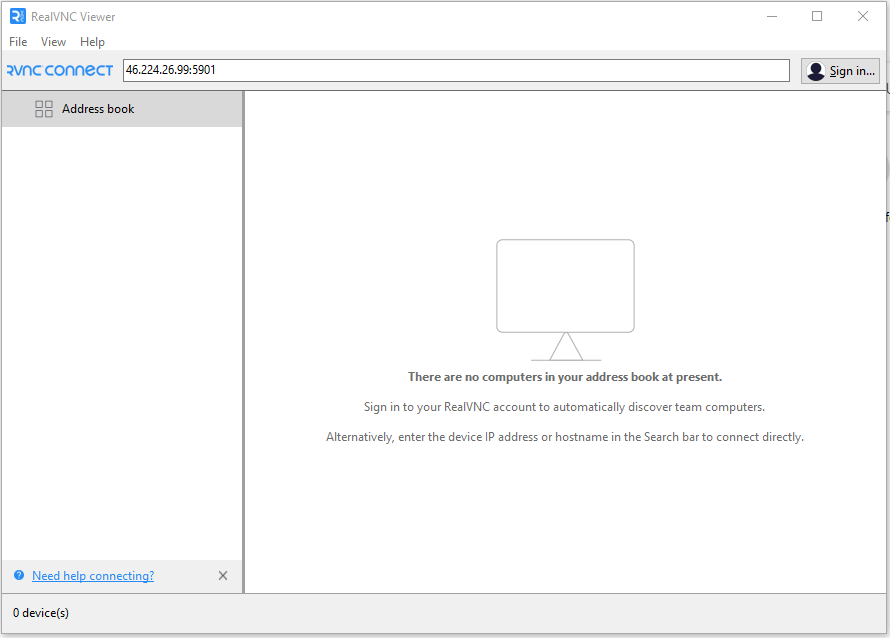
Enter your server IP and port in the address bar and press Enter.
You may see an unencrypted connection warning — this is expected for a direct VNC connection. Click Continue.
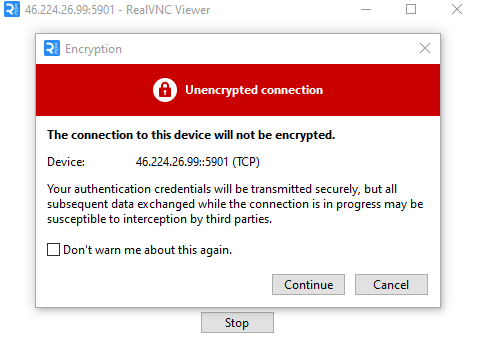
Click Continue on the encryption warning — this is normal for a direct VNC connection.
Enter your VNC password when prompted. You should now see the XFCE desktop running on your server.
If you see this error:
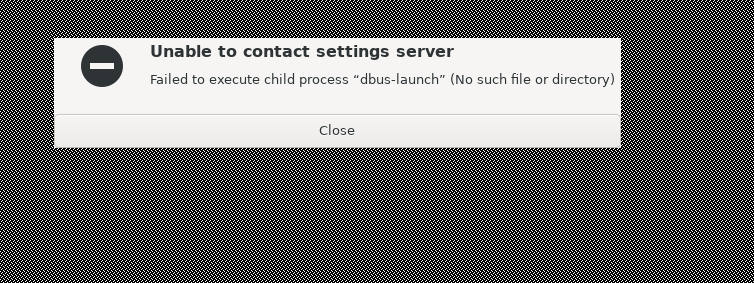
The dbus-launch error — fix it by installing dbus-x11 and restarting the VNC server.
Go back to your SSH window and run:
sudo apt-get install -y dbus-x11
vncserver -kill :1
vncserver -geometry 1920x1080
Go back to your SSH window and run: Then try connecting again with RealVNC Viewer.
Transfer the MonkerSolver Zip File to Your Server
Open a new Command Prompt window on your Windows PC — leave the SSH window open. Transfer your MonkerSolver zip file to the server using SCP. The file is typically in your Downloads folder:
scp C:\Users\ScottPC\Downloads\monkersolver-beta-2.3.10.zip root@YOUR.SERVER.IP:/home/monker/Enter the monker user password when prompted. The transfer usually takes under a minute.
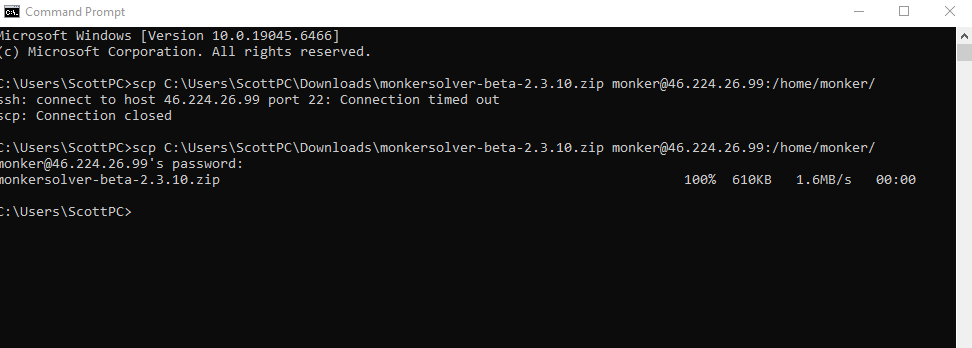
The SCP transfer completing — the zip file is now on your server.
🔴 Error: "Connection timed out"? This means the firewall is blocking port 22. Go back to your SSH window and run:
sudo ufw allow 22
sudo ufw reload
Then try the SCP command again.
Extract MonkerSolver
Go back to your SSH window. Switch to the monker user and extract the zip file:
su - monker
cd /home/monker/
7z x monkersolver-beta-2.3.10.zip
Once extracted you can verify the files are there:
ls -la /home/monker/MonkerSolver/You should see a folder structure including betalauncher.jar and run.command.
Launch MonkerSolver
This is an important step — MonkerSolver must be launched from within the VNC desktop session, not from the SSH window. If you run it from SSH you will get a "No X11 DISPLAY variable" error.
Go to your RealVNC Viewer window showing the XFCE desktop. Right-click the desktop and open a terminal, or find the terminal icon in the taskbar at the bottom. In that terminal run:
cd /home/monker/MonkerSolver/
./run.command
MonkerSolver should now launch on your Linux server.
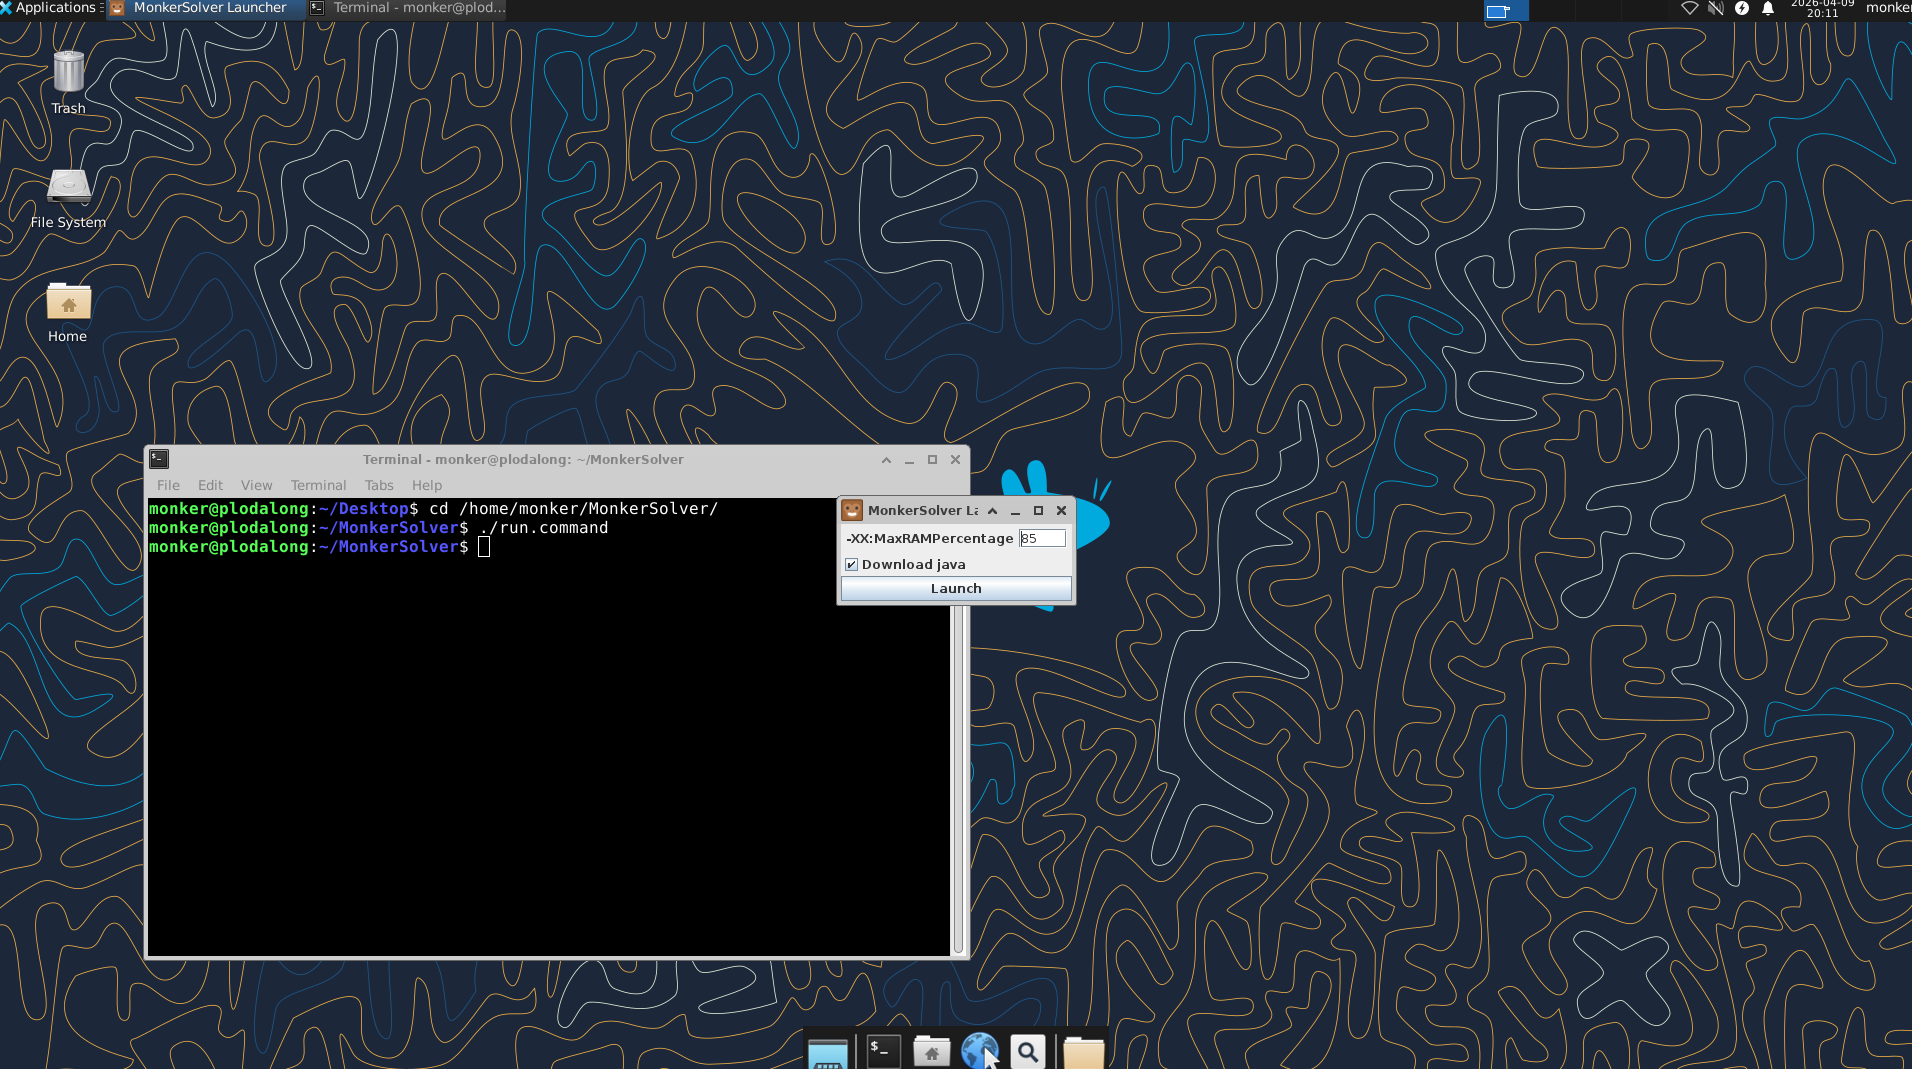
The MonkerSolver launcher appearing on the XFCE desktop — set your RAM percentage and click Launch.
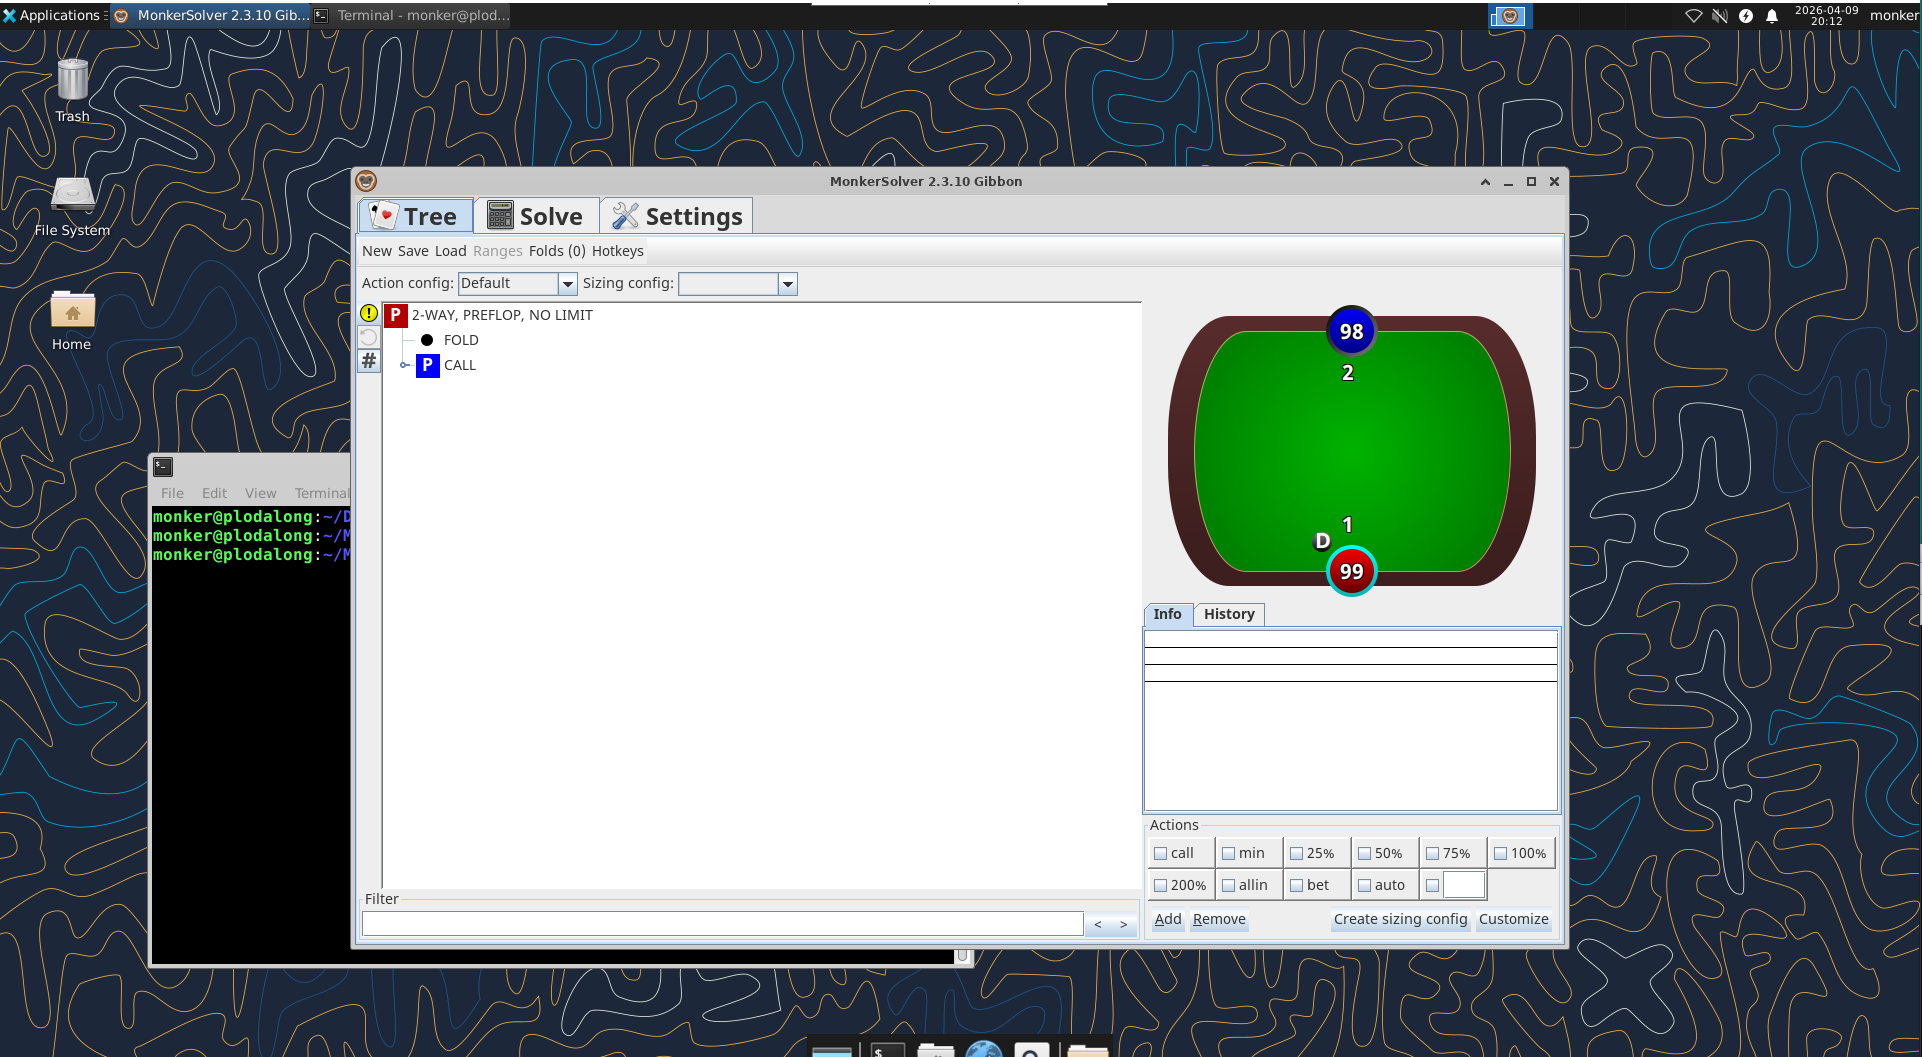
MonkerSolver running successfully on the Linux server.
🔴 Error: "No X11 DISPLAY variable was set"? You are running the command from your SSH window instead of from the terminal inside VNC. Make sure you open a terminal from within the RealVNC Viewer desktop and run the command from there.
Setting the Thread Count
Go to the Settings tab in MonkerSolver and set Threads to match the number of cores your server has. You can also adjust this in the Solve tab using the + and - buttons.
Keeping MonkerSolver Running When You Disconnect
If you close the VNC session entirely any running sims will stop. To keep sims running when you are not connected, simply close the RealVNC Viewer window rather than killing the VNC session. The server and MonkerSolver will continue running in the background. You can reconnect at any time and everything will be where you left it.
💡 Use the queue: MonkerSolver's built-in queue feature is ideal for server use. Load up all the boards or spots you want solved, add them to the queue and let the server work through them overnight or over several days.
Compared to a Windows Server
The main advantage of Linux is the cost saving on the Windows licence — typically $30-50 per month. The main disadvantage is the initial setup is more involved. Once it is running however it is very stable and you will rarely need to touch it. If you would rather keep things simple and are happy paying for Windows, our Windows server guide covers that setup.
If you run into any issues setting this up feel free to reach out at support@plodalong.com